Best EVER Pumpkin Chocolate Chip Bread

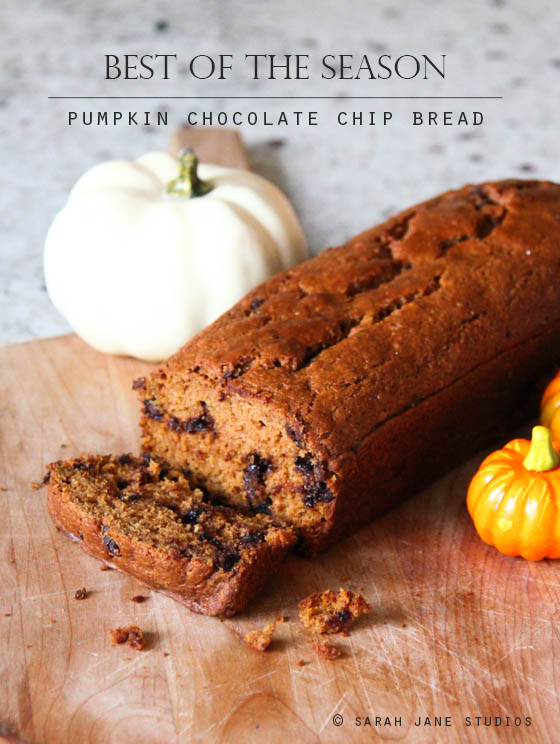
pumpkin bread We just shipped off our last shipment for Quilt Market this week (Yes!! I have a new fabric line coming out....my favorite yet I might add!!) and in typical Sarah & Kenneth style, we ended up baking Sunday regardless of the heap of fabric all over the family room. I'll clean that up tomorrow (before my mom comes to watch the kids of course!) and I'm glad to push it back.

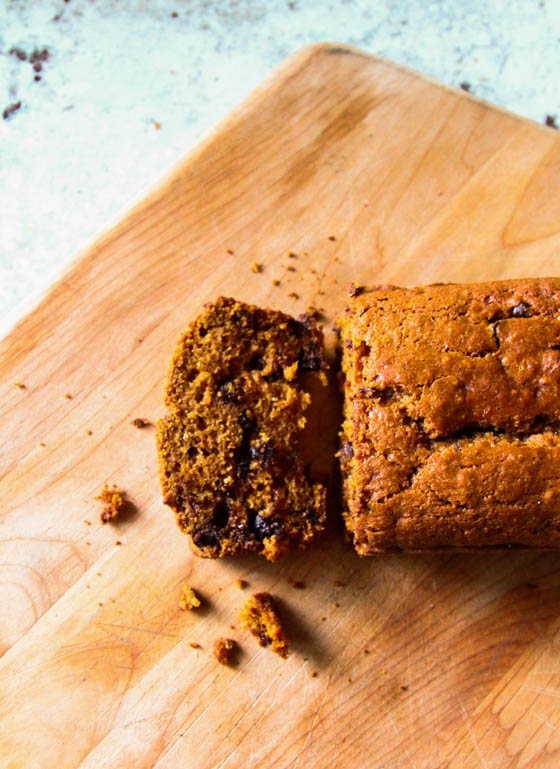
This bread is amazing!

IMG_8978-1-2

Ella is a little bit addicted even.

Here's the recipe. I hope you enjoy!!

IMG_8976-1-2

Pumpkin Chocolate Chip Bread

Makes 2 loaves


Dry ingredients

2 ½ C. all purpose flour

1 C whole wheat flour

2 tsp baking soda

1 tsp salt

2 tsp cinnamon

1 tsp nutmeg

2 C white granulated sugar


Wet ingredients

15 oz canned pumpkin puree

4 whole eggs

1 C brown sugar

1 C vegetable oil

2/3 C water

1 tsp vanilla

1 bag of semi sweet chocolate chips

 Instructions

  • Preheat oven to 350.


  • Mix wet ingredients and dry ingredients in separate bowls.  Be sure to thoroughly mix both wet and dry separately before combining.  Add the dry to the wet in four stages and stir until just barely combined (don’t over mix).


  • There are only two acceptable units of measure for chocolate chips; the handful and the bag.  Add the whole bag and give it a few stirs.


  • Grease two loaf pans and pour the batter evenly between the two.  Bake until a toothpick inserted in the center (and doesn’t hit a melted chocolate chip) comes out clean with no gooey batter stuck to it.  Bake for around 50 minutes.  We’re at high elevation so it took closer to 60.  Adjust cooking based on the toothpick test.


Happy Autumn!


Recipe: Russian Shashlik

weekend gourmet  

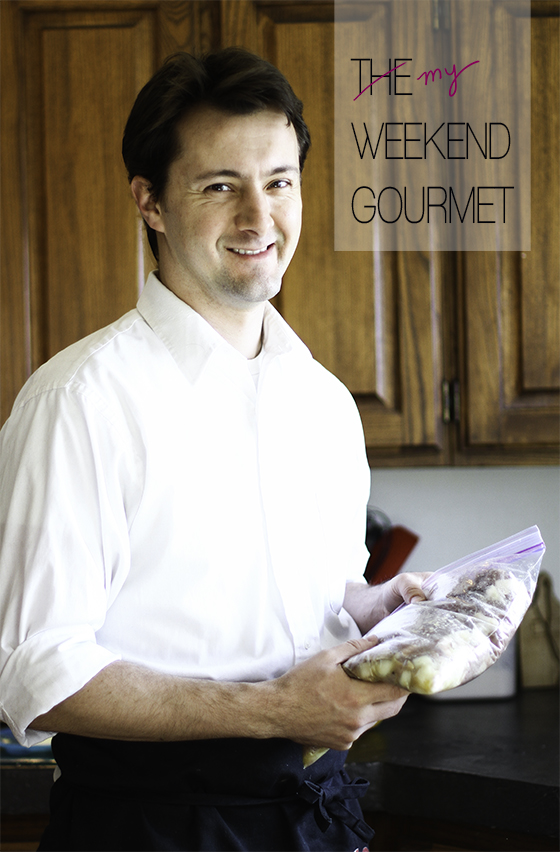
So, it seems like forever that people who know this man have been asking for his recipes. He's the type that comes home from a stressful day at work, and needs to be creative in the kitchen for therapy (I don't mind this kind of therapy!) He's mostly resigned to getting crazy on the weekends, and for years we've called him The Weekend Gourmet.  I've tempted him to share here on the blog, write them down on index cards, you name it. But when this man cooks, he just cooks. He's not in it for anything else. But he's finally convinced to share his secrets. I posted on Facebook and Instagram to see if you'd be interested, and after a few hundred "YES!!!" responses, I think he's in.

So, every so often, Kenneth will be sharing some delicious yummy dishes.

Today, with Easter in a few days, it's a special traditional recipe. A little manly and great for the spring.

Ok! Take over Chef!


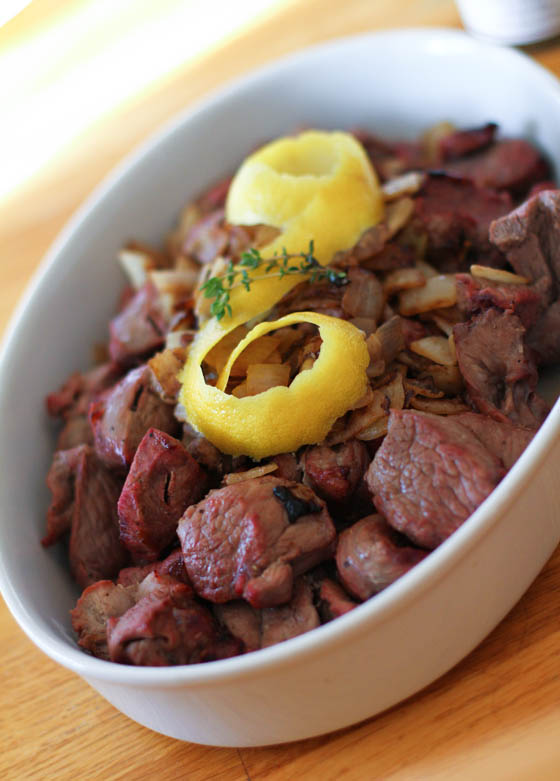
Russian Shashlik:  The Reshatoff family version 

    IMG_7162

 Let me begin by saying that I have never celebrated a single Easter without eating Shashlik.  And if 80 years from now I’m in a hospital on a feeding tube I will still sneak out on Easter to fire up the grill.  It’s that good.  Most cultures have a version of skewered meat but because of my Russian roots this has been and will always be my favorite.  My Grandpa Reshatoff taught me how to make this when I was old enough to see over the counter, and I’ve made it every year since.  Your turn to find out why:)

IMG_7135-2

 Ingredients

1 Leg of lamb (deboned unless you’ve done this before.  Costco is where I get mine)

1-2 Large yellow onions, or any sweet onion, Diced.

2-3 Lemons, just the juice.

3-4 Tablespoons Olive oil

Fresh ground pepper

2 Teaspoons of salt (or more to taste)

2 Minced cloves of garlic (Optional, but I like it in)

IMG_7141-2

IMG_7143-2

Directions

  1. Trim most of the fat from the lamb and wash and dry it.
  2. Cube the meat into 1 ½ inch cubes
  3. Place everything listed above in a large mixing bowl and give it a good stir.  Get your hands in there.  This is no job for a wimpy spoon.
  4. Put everything in a gallon zip bag and put in the fridge overnight.
  5. Pull bag out an hour before you grill
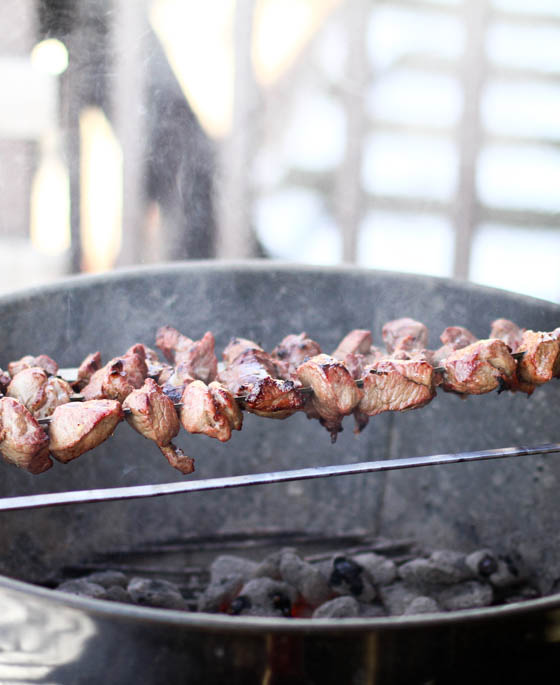
  6. Fire up your grill to HOT.  500+ degrees.  We’re not baking, we’re grilling! The meat is in small pieces and you want to cook it fast or it will get dry.
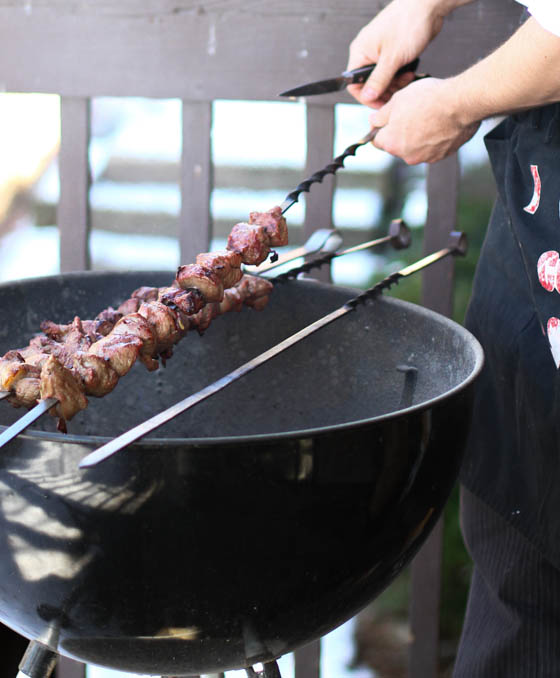
  7. Put the meat on skewers with a little space between each piece so it will brown on all sides.  Traditional shashlik is done on large metal skewers right over the coals with no grill, but if you don’t have 3 foot spears like me you can put them on smaller skewers and do it on the grill.  Just coat the grill with cooking spray or and oil soaked cloth first to prevent sticking (don’t spray the grill when its on the coals.  Can you say ‘fireball’?)
  8. Depending on the heat cook for about 5 minutes and then rotate until browned (maybe a little black if my mother-in-love is coming.  She likes it burned) on all sides.
  9. When they’re brown (10-12 minutes over high heat) Use a knife to check if they’re pink (not red) in the center.  Leave them on if you want them more done but remember, they’re going to cook more when you pull them off.
  10. Get a thick metal or ceramic pot (crock pot works nice, not plugged in).  Pull the meat off the skewers and put them right in the pot and PUT THE LID ON! (Imagine my Russian Grandfather yelling at you).  If you don’t they’ll dry out and be lamb jerky.  No good.
  11. Try to time this as close to your eating time as possible.  You want to pull it off the grill and let it sit in the pot for 5-10 minutes as everyone sits down.
  12. Add a little more salt and pepper to taste if you want and dig in.
  13. We serve this over rice pilaf, a great big green salad and Easter Bread, another Russian Easter favorite.

Enjoy!

IMG_7108

So are you in? If so, I'd love to have you comment below and say hello! Tell us if you've done lamb for Easter, and if you end up trying this, share your thoughts!

Happy cooking!!

Peach Picking

We've been lucky to go peach picking a couple times this summer. Nothing like fresh peaches!

I'm a sucker for just eating them straight...over ice cream, on cereal, or just cut up plain for lunch.

But I'd love to know from you....What have you been doing with your peaches this summer? Any recipes you have found that are to die for? I usually do a peach cobbler...simple oats and sugar mixture on top, baked in the oven. But I'm inclined to make some more desserts before summers over. How do you like your peaches best?

Happy (peachy!) weekend:)

xo

sarah


Recipes: Homemade Kettle Corn

There are few things like Fall weather to crank me into cozy food making. I've mentioned before my husband's crazy gifts in the kitchen, right? He's one of those "make it different every time" kind of cooks, that never needs a recipe, nor writes a recipe.  The end of that is in sight. I have officially persuaded him to write some of his creations down, and I've used my blog as a motivation. He actually kinda-sorta started his own blog. But it's not motivation enough. But since eating is very much a part of my creative process, I figured this was a perfect opportunity to share with you what makes me get into the creative mood. My husband's cooking...which I actually love being a part of. We're two of a kind in the kitchen...well, 5 of a kind. Cooking is very much a family affair.

This recipe is actually a mutual creation. I think I figured it out first, and then he tried it, and it has since become a weekend movie night tradition. This isn't like Micorwave Kettle corn. I actually loathe the stuff. This is the perfect mix between regular popcorn and caramel corn. Yummy.

Now on to the recipe from our guest this week, my husband Kenneth: Say Hi!

Homemade Kettle Corn

Ingredients

1/4 cup vegtable oil

1/4 cup white sugar

1/3 cup unpopped popcorn kernals

salt to taste.

First of all, this post is taking much longer to write than it should because my hands are constantly going to the bowl of kettle corn next to me instead of typing.  One of the many reasons I have not been very good about writing down recipies is it's too hard to write and eat at the same time.  But, as Sarah said this popcorn has become a tradition at our house and I'm confident that with a little practice it will become a staple to every movie watching experience in your home too.

1) Heat a 1/4 cup of oil over medium heat in a large pot with a wide base.  Make sure the pot had a tight fitting lid or you'll have caramel shrapnel all over your kitchen (not to mention neck).  It's best to use a pot with a thick bottom so the heat is more even.  Be sure to use vegtable oil or some other oil with a high smoking point.  Don't use olive oil or butter, they will burn.  As a rule.  If the oil is smoking, its too HOT!

2)  Toss a couple of kernels into the oil and put the lid on.  Listen until you hear them pop and you'll know the oil is ready.  Add the rest of the kernels to the oil and shake the pot to make sure the kernels are sitting in an even single layer.  Wait about 30 seconds then evenly sprinkle the sugar over the top of the kernels and give the pot another shake.  If the kernels start popping while you are applying the sugar, dump the rest of the sugar in quickly and CLOSE THE LID!  You're about to get boiling oil exploding all over you.  It is VERY important that from here on out you open the lid away from you and only open it as little as possible.

3)  Depending on the temperature of your oil you'll have about a minute before the kernals start popping.  I usually reduce my heat at this point to between medium and medium low.  For the first minute or so just giving the pot a good shake will keep the kernals from burning.  And once the popping starts, you'll want to shake the pot frequently back and forth every 10 seconds or so.  The actual technique of the shaking will vary depending on your pot and the stove you use...but with practice you'll get the feel for it.  As the popping starts to slow I like to slip in some large cooking chopsticks under the lid and give it a stir.  You could use the handle of a long wooden spoon.  Don't use anything plastic.  The oil is super hot and will melt it!  Good-bye favorite spatula: I will forever mourn you:(

4)  As the popping starts to wind down I stir the popcorn and check the bottom to see if I've got most of the kernels popped.  If not, back on th heat it goes.  If it looks mostly done I take it off the heat and give it a sprinkling of salt.  I like to use kosher salt because I find its a bit sweeter and softer than iodized salt.  The popcorn will stick together a bit, but as you stir it will cools and break apart.  Pour it in a bowl and watch it disapear before your movies opening credits finish rolling.

Trouble shooting:

1)  My popcorn burns:  Your oil is too hot and you need to stir the kernels on the bottom a little bit more.

2)  The corn won't pop or is small when it pops:  Your corn is old.  Popcorn has to have a certain internal humidity to work.  If it's old, throw it out and get some fresh stuff from the store.

3)  Everyone ate it when I was washing the pot: Hey! You've got a clean pot -make more!!!!

Enjoy, and I promise more yummy dishes will be following this holiday seasons.

Kenneth

UPDATE: Over Christmas, we got this handy piece of equipment. No hassle...no burning....no concerns about hot oil. It makes homemade kettle corn in 5 minutes!