

I'm loving when my kids pretend to be rock stars. On most days, my kids are the experts on something...the top of their world. And so I ask myself....when was the last time I pretended I was a rock star? Not the spike your hair stiff kind (although that would be pretty wonderful) but a rock star at whatever I am doing at the moment. Like a rock star kitchen sweeper. Or a rock star laundry folder. Think about that. Aren't kids awesome? I learn the coolest stuff. Today is going to be a great day..... I am off to be a really cool rock star.
From the Archives: Golden Shoes.
This is a post from last year's Easter weekend. Moving has thwarted our festivities a bit, but The Country Bunny still remains a tradition.

This weekend we celebrated Easter, and it was our best yet. Easter egg hunts, cake decorating, a wonderful morning at church, candy eating, family gathering and really, really great memories.
One activity we did I think will turn into a yearly tradition: reading of "The Country Bunny and the Little Golden Shoes".

(If this book is new to you, here is the one sentence recap: A country bunny with 21 children to tend to, is able to maintain her status as one of the 5 Easter bunnies, because of her mothering skills in the home, and the extra help of a special pair of magical golden shoes. Message: As long as you always try your best, you will get the help you need to do great things.)
My children have read this before, and my husband and I grew up on this story. It is one of my ALL TIME favorites. But this year, we made it even more special.
On Easter Eve, we walked over to my Grandmother's house where she was waiting for us...ready to read her very own copy of this story (she is the Country Bunny to a "T"). She read it aloud in her own words (which we audio recorded) and then at the end, I pulled out a wrapped box with a real pair of golden shoes to hang up on the wall as a reminder of the amazing message in this book. The kids were tickled to think they had their very own pair to look at.

I wish I could have posted this before Easter, but alas...it was a last minute idea. I had bought a pair of old vintage toddler shoes at an antique store years ago, and I spray painted them gold. I laced them up with leather lacing, and VOILA. A family heirloom to pull out every Easter.
If you haven't ever read this book, you may be a bit confused. You need to go read it...it is worth reading ANY time of the year!
The Making of an Art Studio: Part 2
The last time we met in the studio, we were repainting the walls and floor. You can see here what the studio looked like before. It wasn't very lovely, and doesn't show the grotesque carpet we removed. But since then, it's a new place. We'll start with the floor. Isn't it so pretty?
So, for the art studio, we didn't want carpet. And since we were needing to remove it anyways, we looked at other hard floor options (so much easier to clean than carpet with all the art making going on!). I love white floors, so we looked at this option and I dreamily considered this option. But they each came with a steep price tag ($350 for installed laminate and at least triple for hardwood) and with the cement floor underneath (this room is in the basement) we thought, "Why not just paint the cement floors white?" So we did. And I am in love.....with my floors AND my husband since he did all the work. And it cost so much less (money, not time that is!).
How to Paint a cement floor
MATERIALS:
1. To rip up existing floor, if there is one: crowbar, hammer, pliers, razor, etc.
2. To get the surface ready: Mop, rags, etching solution, concrete patch, trowel, sand paper, vacuum (shop vac, or good home vacuum with attachment pieces), oil remover (if necessary), concrete sealant and primer.
3. To paint: 1 part Epoxy paint, good synthetic paint brush, roller with a good long handle.
STEP-BY-STEP PROCESS:
1. Rip up the existing flooring. Make sure to be meticulous about removing all nails, staples, and remnants from the cement. There will most likely be damage when you remove anything nailed or stuck to the floor, but that can be fixed later. Better not to hurt the floor, but carpet glue and floor boards can be nasty to get up, and can do a bit of damage.
2. Clean up any stains from oil or glue. Oil stains will show through the paint, and will eventually cause damage. So get rid of any oil stains first, being careful to allow plenty of time to dry and treat. Here is a great link with options for cleaning up oil stains.
3. Scrape off any unwanted surface material. We had large amounts of carpet glue that we had to scrape and scrub. Give yourself plenty of time to take care of this! It's super important if you want crisp and beautiful floors!
4. Fill any holes with concrete patch. Using a trowel, patch up any gouges or holes and allow time to dry. Sand down and refill if necessary to get your floor smooth and even.
5. Clean the floor with a vacuum and mop to remove all dust and dirt, and wipe up with a wet rag or mop. Allow plenty of time to dry (at least 24 hours). The floor has to be completely dry to paint. To check for any moisture, place a piece of plastic wrap on the floor, and weigh it down with something heavy. Let it sit overnight, and if there is any condensation on the plastic, you know you need more time. Give your room ventilation and a fan to speed up the process.
6.Tape off the floor by placing painters tape along the edges of the baseboards just where it meets the floor.
7.Treat the floor with an etching solution. This is possibly optional, but we read so many tutorials and never got a consistent answer about this step. The etching process treats the cement so that it can take the paint properly. We decided not to skip this step since we really didn't want to be doing this floor over again. It's not that hard. Just wipe the floor with the solution, and then make sure to wipe it up/vacuum it up according to the directions on the bottle. Allow time to dry.
8. Prime the surface of the concrete. We used this concrete primer and it worked great. Again, allow time to dry anywhere from 4-24 hours.
9. Paint the floor. This is the fun part! We used this paint with a white finish, but I suggest going to your local hardware store and finding what you need and talking with someone you can trust as you gather your materials. You can paint this just like you paint a wall: cutting the edges in first with a brush, and then rolling the paint on the main surfaces. Make sure to get a long handle to your roller, or you'll break your back! We used a 1 part epoxy because we were told that a 2 part epoxy has really toxic fumes, and needed proper ventilation, which with one window and because it was in the basement, we went with the 1 part epoxy paint. The difference is in the sheen, and how hard the surface is. Allow 24 hours for it to dry between coats.
10. Repaint as many times as needed. We painted 3 coats, and it looks perfect!
11. We didn't put a finish on the floor but I am told you can. We kept this a more matte finish with less sheen, but it cleans up really well! I love it!
Total Cost:$80
Concrete Patch: $10
Etch: $20
Primer: $25
Epoxy Sealer Paint $25
You can't beat 80 bucks on brand-new mess free floors! But be warned: It look a lot of TIME. Each process needs plenty of time to dry. I think the whole process took about a week of evenings. My husband is the greatest...Let me tell you!
Stay tuned to see the walls and more....I am cranking through my illustrations so there is nothing on the walls yet. Decorating will have to wait a few more days. But I am very much enjoying the space. White floors.....yummy.
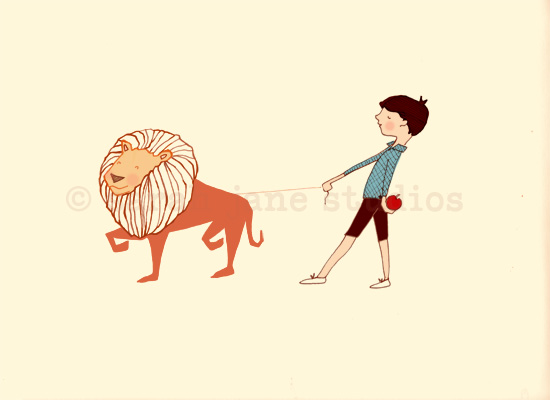
The Lion is in.
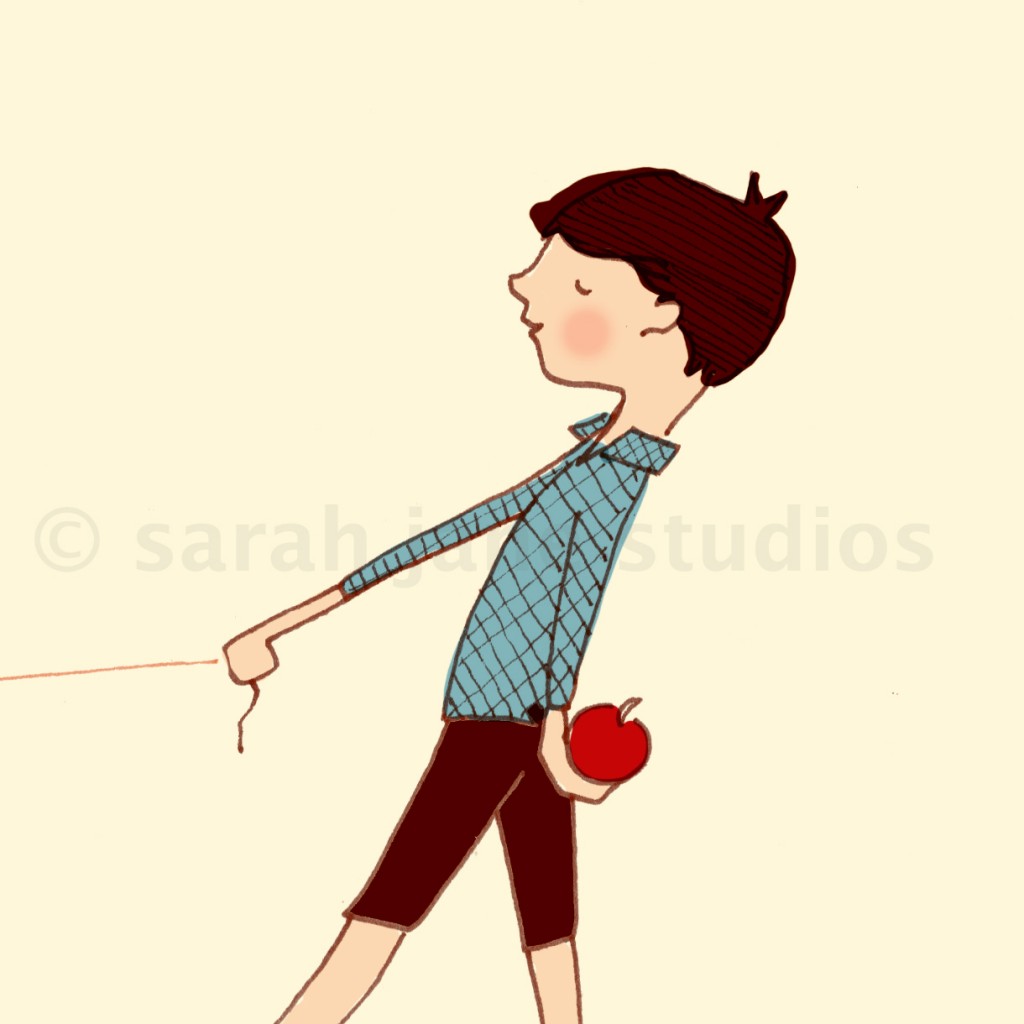
New in the shop. More to come and join the new Retro Line.
Also, did you know you can get any image in the shop in a folded matte printed card? Yep. Just $3 for which ever design suits your fancy.
And don't forgt: great deal for CJANE readers this week! Free card of choice when you mention CJANE in your order.
Posts from a homeowner.

Welcome Cjane Readers! If you are new here, take a seat and stay a while. There is lots going on here...and it's great to meet ya!
We are all moved into the house, and though I am still digging through boxes to find socks, we are feeling so at home. We have entered the ranks of homeowners, and I love this title. There is a lot to do still to the house (did I mention we still need to install a couple toilets?) but those are just details. The wonderful part is that we have an address and a neighborhood and feel such a part of this wonderful community up on the mountainside. Our breakfast table overlooks the city below and there was a beautiful red-breasted robin singing to us from his tree this morning with branches that look out over the valley. This house is an artists paradise. I can't wait to show pictures!
And believe it or not, I have been still able to chisel away at the Christmas Book I'm working on with Katherine Tegan books at Harper Collins. I have a deadline to finish completely in just over a month, and I couldn't think of a better place to finish it up than at the new house. The art studio is proving to be a great place to work. I'll get some boxes out of the way and shoot some pictures soon!
But to start off the week, there are some great giveaways over at CJANE celebrating the birth of her upcoming baby. I designed the invite (Can you tell I am into this retro feel?) and it should be a lot of fun!
I am giving away a $50 gift card to my shop here and you can visit more giveaways here. Come on over and dig in! And all orders with the mention of CJANE get a free card of choice in their orders this week!
Have a good one!
xo
sarah jane
Reflection.

ian reflection
This weekend is the big move!
As humbled and thrilled and excited I am to finally own our own piece of this Earth, I can't help but look back at where we have been this past year and reflect on the beautiful times we've had. We are very ready to move on, but looking back, I see where my baby was born, the trees my children called home and the spot of lawn where we could spot deer in the wee hours of the morning. It is rather like the change of the season: the blooming of a new spring as we tuck winter away for storage.
Here is a thought found on Julia Deno's blog this morning. "A little bit sad about the place you are leaving,a little bit gladabout the place you are going.It is a time of quiet wonder–"
Robert McCloskey
We are so lucky and blessed to be moving into a much better situation than we have been in. Our first house. But there is always room for nostalgia isn't there? Life is beautiful no matter which lens you choose to look at it with: past, present or future.
Moving onward and upward!
xo
sarah jane
Retro Line.
It's crazy. Ideas come when you don't expect them, and for me....when you don't have time to do anything about them (like when you are moving, living in boxes, making a book and fixing up a house all at the same time). But I am excited about this one. Sarah Jane Studios will be getting a Spring Makeover with new prints and items perfect for the retro kid. New prints will trickle in slowly but surely...so stay tuned! If you haven't signed up for the newsletter, you can do that on the sidebar to be the first to know when new prints are in the shop!
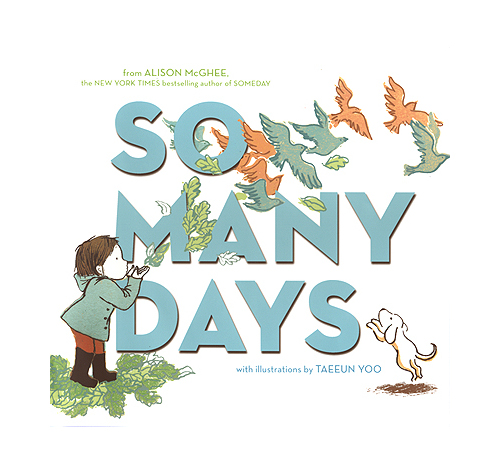
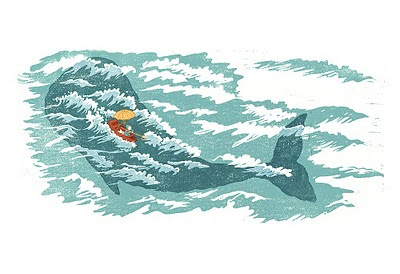
Books You'll Love: So Many Days.
 Good morning. It's Monday. Very much a monday, and I need a good book.
Have you seen this wonderful new title from Taeeun Yoo? I've chatted about her before and how in love I am with her simple illustrations. But her sweet prints are making me smile this morning.
So Many Days. A book about dreams and possibilities and the wonders of the world we see. There is this darling mini-video of the illustrated book here. It's one of those books perfect for gifting, graduation presents or for that new baby. "So many doors in all your days....So much to wonder about.....Where will you go.....and who will you be?"
I just love Taeeun Yoo's illustrations. Simple prints with fresh color, Asian influence and a vintage feel. They are timeless and wonderful. She has illustrated titles such as ONLY A WITCH CAN FLY, THE LITTLE RED FISH, and THE UMBRELLA QUEEN. She is an up-and-comer getting a lot of attention for her work, and I think there is so much to her simple lines and color that create the unique feel to her books. Here are some of my favorite illustrations from this book:

 Aren't they wonderful? Have you seen any other of her books? I'd love to know what you think about them. They really speak to me as an illustrator, and to that inner child in me that craves imaginative illustrations and creative lines and color. Her illustrations are really inspiring me this morning....this plain-jane monday. Seeing illustrations like hers really thrill me and remind me how much I love illustrating for children. You can tell from her art that she loves illustrating for children too. Hope you enjoy!