Introducing: On Parade panel and a floor pillow project

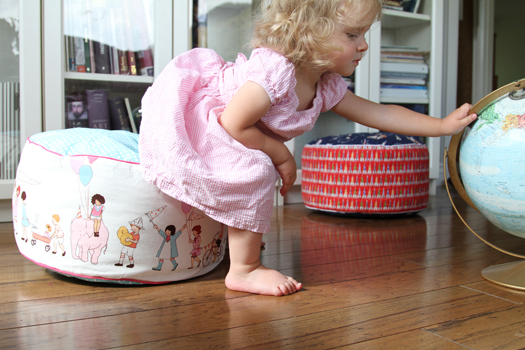
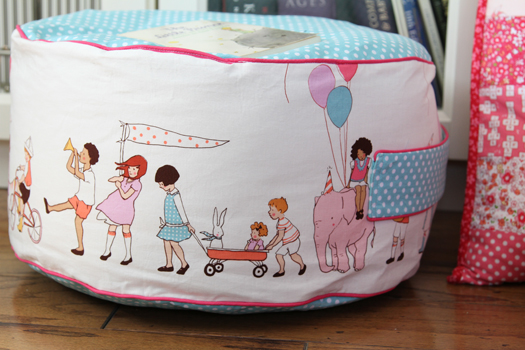
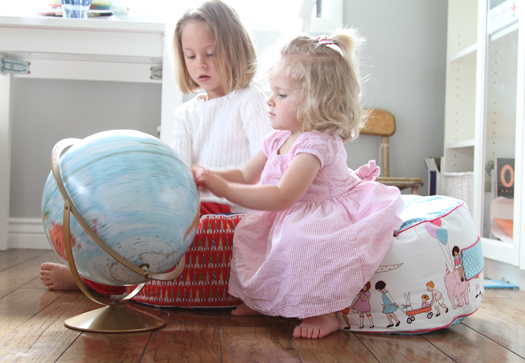
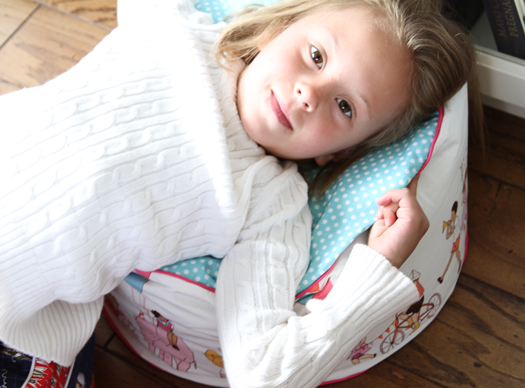
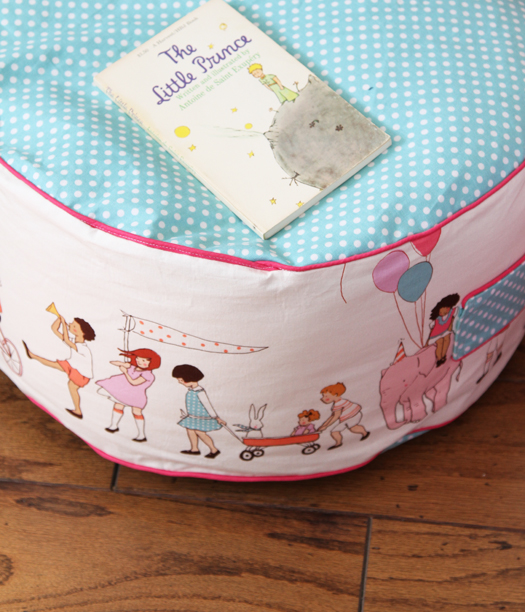
Hello! I'm back to show you some more fun we've had with this fabric. Children at Play was designed with a lot of projects in mind. As a designer, I really had to think about how this fabric would be used with children in mind: I thought about clothing, bedding, interiors and quilts. You'd think, "Well, of course...that includes it all!" But, when you are designig fabric, you really need to think about the end result. And this panel print was intended to be a runner for the bottom of skirts and dresses, but I hadn't realized how well it works for bedding or like this....floor pillows.

Now that I have this fabric in my hands, it's really amazing to see it in use. Being my first line, I've never had the experience of having something in my head translate into something in my hands like this. I mean, to see your illstrations on paper is one thing. But to have your children snuggle up and sit on them is another. I am still pinching myself!

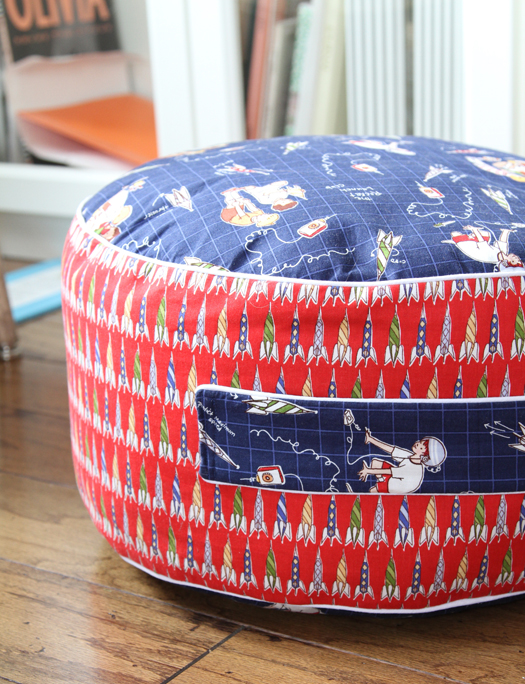
This is called On Parade, and it runs on both sides of the selvedge, so it can get double use.The one below is with the Rocket Launch Club and Rocket Prints. I am rather addicted...and want to make so many more!

I found this floor pillow tutorial on Living with Punks, and this panel print works perfectly for it. It's inspired by the floor pillows at Pottery Barn, and are really nice because they are flat on the top, and they have a handle for the children to move around the house. Here's the post with pictures and instructions.

I will add that we added an inch to the top, and good 5 inches to the length of the side fabric to make it a wee bit bigger.  I also added some upholstery grade iron-on lining (by Pellon) to make it a bit more ready for lots of wear. You can get it at any general fabric store. It's a pretty easy project, and really fun to make!

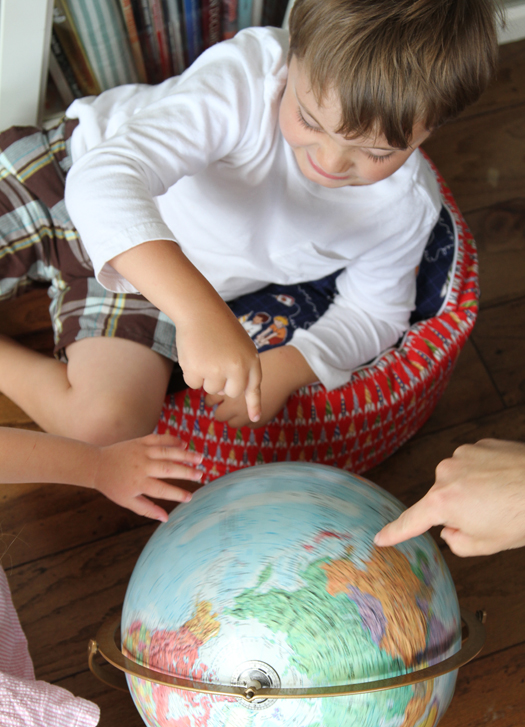
My kids love these. They really are the perfect portable furniture! I am SO glad I found this tutorial. They are getting a lot of use, and I think we need some more around the house. Right now we use them in the "library" (our living room) since we don't really have much furniture in the house. So I just had to share...I think you'll love making them too! Have fun!

Free Easter Paper Dolls

Happy Easter Paper dolls blog

Happy Easter Paper dolls blog

Happy Easter!

This afternoon, my next door neighbors came outside with some brand new ducks, just a few weeks old, and ooooooohhh....let me just tell you how much fun we had! I'm really regretting that I didn't have a camera, because it was just so darling so see my kids playing with baby ducks while filling up a play pool full of water. Cold water too. Have you ever seen a baby duck shiver? CUTEST THING EVER.

So, being inspired...here's a sweet little Easter Present for you. In case you need some extra play this weekend, you can DOWNLOAD IT HERE.

Free ninety free.

And be creative! These dolls could make a really cute stage play using THIS.

And if you want more dolls, and more clothes, you can go HERE.

I hope you have a wonderful weekend. I will be conducting the children at church on Easter Sunday while they sing, and I am honestly just really looking forward to it. I love Easter. And singing with the children. Is there a better combo?

xo

sarah

Peter and the Wolf Puppet Theater

This weekend was snowy (Bleh!). Friday was 72 degrees, and we were enjoying every second of it. Then a good 5 inches of snow dropped on us, and we've been bundled up in the house all weekend.

Spring, and I tend to forget this every year, is like that. You never know when those 'inside' days are going to hit. And I wanted to have some fun.

So, I made a puppet theater for the kids. And it was so much fun to make, I've decided to post it here so you can play too!

Peter and the Wolf is a long time favorite in our house. I grew up listening to the record and my husband, who is 1/4 Russian himself, grew up the same way. Our children were listening to this story before they could even talk! It's just such a classic. You know the music, right?

In case you are unfamiliar, Serge Prokofiev wrote Peter and the Wolf (the first symphony for children by the way) in 1936. It's a narrative symphony about a boy (Peter) and his animals as they encounter a wolf from the nearby woods. Here's a fantastic 1941 recording for you.

Peter and the Wolf Recording with Basil Rathbone (22 minutes)

The story goes like this:

One day, Peter opens his gate to play out in the meadow beyond his house. He meets a bird, and soon his duck and cat come to join in the play.

He comes back inside and his Grandfather scolds him for leaving because beyond the meadow are woods filled with wolves (just like a Russian Grandfather would).

Grandfather locks the gate and tells him to never go out there again. But, Peter paid no attention. "Boys like Peter are not afraid of Wolves."

Peter is inside the gate, but his friends, the bird, cat and duck are still out by the pond. The wolf swallows up the duck in one big gulp and goes after the cat and the bird who are up in a tree.

Peter gets a rope and climbs over the gate and into the tree where he ties up the wolf and catches him.

A hunter comes and sees the wolf and is about to shoot when Peter cries out that he has caught the wolf. They tie up the wolf and take him to the nearby zoo.

In the story, the duck is still alive inside the wolf's belly as they parade heroically to the zoo....and our version, we like to say that the wolf spits up the duck and they all parade together.

And that's the story! But the music is what makes it. I can't get it out of my head. And it's so good for children!

Last Christmas, my husband's parents made us an incredible hand carved collection with all the characters and the book and CD in a hand painted wooden box. We have spent the past year acting out this story at least once a month. The children listen to it over and over again, using the characters to follow the musically narrated story. It's been such amazing play for the kids, I've wanted to do something similar for YOU! But I've not been able to come up with how to do that. I nearly came up with a paper doll version, but it didn't seem to be as fun.

But with paper puppets, the body parts move....and can be played with even outside the stage. Hours of fun.

So here's what you need:

A Paper Stage:

This is a FREE download in hopes that you can use it for more than just Peter and the Wolf. You can cut it out and fit it to any kind of box, but a cereal box works great. The stage is very close to a full size sheet of USA standard paper (8.5 x 11 inches). So find a cereal box that works with that size. The crown of the proscenium is easy to tape on, or even better, fasten on with brads so you can change it out and replace it with others that title the performance.

Download the Stage HERE.

Peter and the Wolf Characters:

I debated on this one....I wanted to make it completely cost free, but since it is rather elaborate, I'm charging just a small fee: $5.50 for the entire set. I plan on making more stories, some of which will be more simple will be a free download.

You can purchase the full PETER AND THE WOLF set HERE.

Other Household Supplies:

Cereal box

Scissors

Tape

String

Small brads (these are used for scrapbooking and are smaller than normal brads used for school or office. You'll find them in any craft store that sells scrapbook materials).

Safety pin (to pre-poke holes before fastening with brads)

Sticks for puppeting These are found at any craft store, wooden skewers used for barbequeing work as well. Popscicle sticks are going to be too wide, so don't try.

MUSIC:

The Disney animated classic can be viewed on You Tube HERE.

Another favorite version is here, but there are lots more.

But feel free to LISTEN OFF THE BLOG for free whenever you want. (It's not the best recording out there, but it is the best FREE recording out there. But the voice of Basil Rathbone? Fantastic!)

So there you go! I really hope you like it....in fact, I'd LOVE your feed back on this one. Please comment and tell me your thoughts....I have been wanting to add this kind of thing to my shop/blog for a long time.

Is this something you'd like to see more of?

Can you think of other favorite (copyright free) stories that you'd like to have characters of?

Would you prefer a PDF download, or a KIT with all supplies included that you can purchase and have mailed to you?

I can see this as a collection you can keep adding too....some with just black and white print outs that children can color themselves, some more elaborate and entertaining.

I'd love to know what you think! I can't think of anything out there quite like this....so spread the word and we'll see if I can't get more little "performances" put together. It's the perfect creative play, and I can promise you it's going to be a big hit at your house. Tell me how it goes!

Rocket Ship Diorama

January is the month of Birthdays: Both Addie and Ian turn one year older just 12 days apart from each other. Not only that, but the birthday festivities start right after the holidays. I feel rushed every year!

This year, Addie went for a Dress-up/Princess theme (of course!) and Ian for Rockets. It was simple, and no-fuss. I had grand ideas like I always do, but then toned it down by keeping it about the fun and not the presentation.

We had lots of activities, but the one I wanted to share was from Ian's party.  I planned on having the boys build rockets out of materials I was going to collect through the month. But....since I never collected anything, I came up with this idea at the last second.

Rocket Ship Diorama

Do you remember making dioramas in school? Yes I know. Very retro now, I'm sure. But I am here to bring them back. They are rather awesome, if I do say.

Here's what we did :

Materials:

PDF download of rocket figures

Shoebox

Styrofoam ball

Toothpicks

Thread or fishwire

Scissors

Glue or scotch tape

Sky or Space colored paper

Directions:

1) Cut out the paper figures. Girl and boy rocket people are a must.

2) Attach a toothpick to the back for mounting.

3)Wrap the inside of the shoebox with paper that will look like outerspace: dark blue works best, and it's fun to add glitter, stars, or whatever you want so that it looks super space-y.

4) Cut a styrofoam ball in the shape you need to make the top of a planet or moon

5) use fish wire to attach the firing rocket and planets to the ceiling of the  shoebox.

6) Be creative and add whatever you want to make it your own!

We were rather no-fuss about this, and let the little boys make them by themselves really. They loved positioning the rockets on their own. Even with paper they try to make things collide and explode:)

So, simple? Yes. Entertaining for a 5 year old? Yes and yes. Ian sleeps with this next to his bed so he can look into it before he drifts off to dreamland. Dreaming about green aliens and conquering the cosmos for sure.

Click here for the PDF download you can print yourself.

I'd love to see what you come up with!

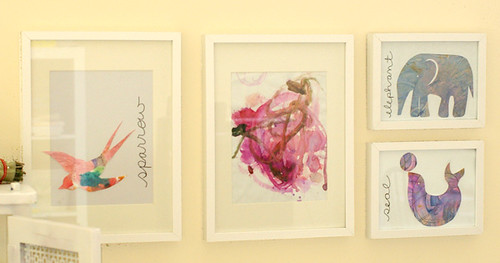
Make your own gallery: templates

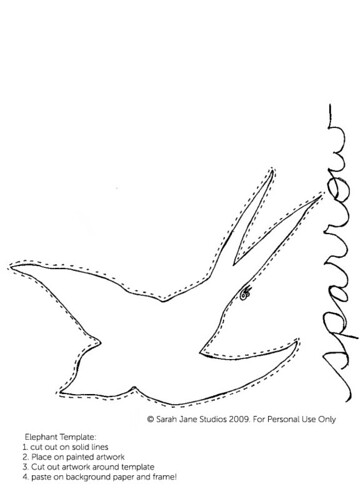
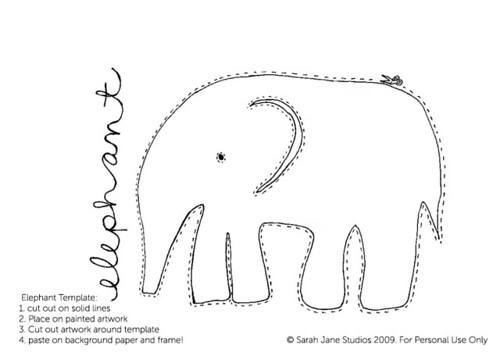
Ok! Due to popular demand, you can now make your OWN art gallery. All you need to do is click on the links (don't click on the picture: too small), download the image and follow the instructions! Horray! Have so much fun...there are so many others you can make, but for those of you who prefer tracing, this should be a lot of fun!

Sparrow Template

Seal Template

Elephant Template

**EDIT: And yes, I am VERY aware that the bird template is a swallow, not a sparrow. This only goes to show the state of mind a mother can be in when she has her 2 toddlers crawling on her while doing art projects! I could go in and change this posted picture, but instead, let it stand as proof that I am mother and often make silly mistakes at the expense of just getting projects finished in time to please excited little ones!
Making an art gallery.

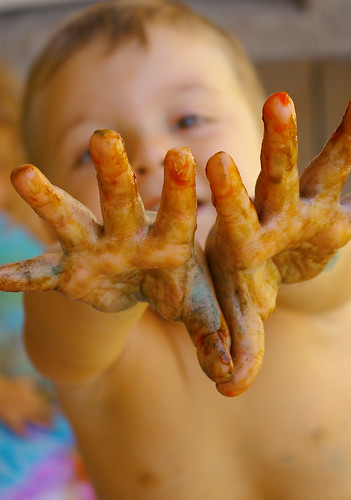
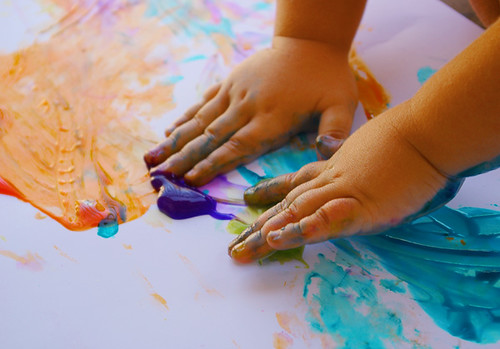
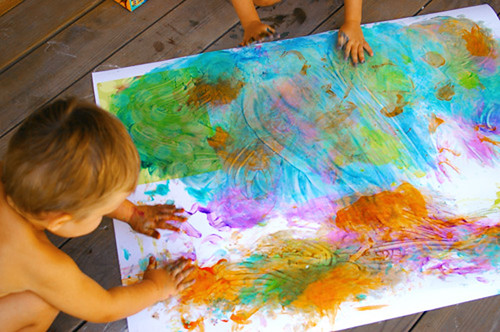
We paint and make things a lot around these parts. I love watching my little artists have at it. But after a while, I started to wonder what in the world I was supposed to do with all their art pieces. Too many to save, but not any room to put them. There are plenty of ideas I have found about storing your children's art, but I really wanted to showcase it. Here is what we came up with.

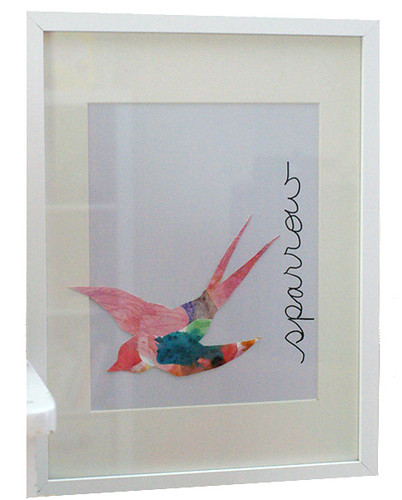
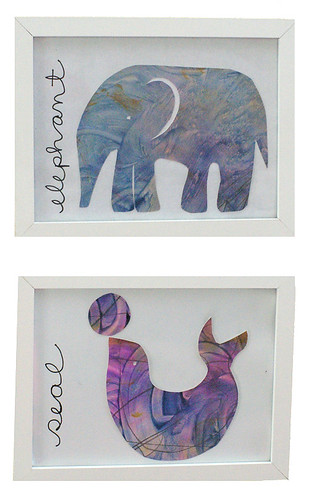
We continued the art project by turning the art time into craft time. I drew basic animal shapes on a piece of paper, and cut them out to be a template. Then I placed them on the poster board (making sure to find the most interesting parts of the art) and cut then cut out around the paper template. (The bird print is actually a collage of the art paper, cut into random shapes, glued down on a paper, and then cut into a shape...very Eric Carle-ish.) The kids helped me glue the cut out animal shapes to white paper, place them in an IKEA frame, and VIOLA! Instant art. Pleasing for me and for the kids. I can't wait to make more!

**EDIT: And yes, I am VERY aware that the bird template is a swallow, not a sparrow. This only goes to show the state of mind a mother can be in when she has her 2 toddlers crawling on her while doing art projects! I could go in and change this posted picture, but instead, let it stand as proof that I am mother and often make silly mistakes at the expense of justgetting projects finished in time to please excited little ones!